
What DPI Should You Use to Convert a PDF to JPG? (Print vs. Web)
Founder, PDFengine
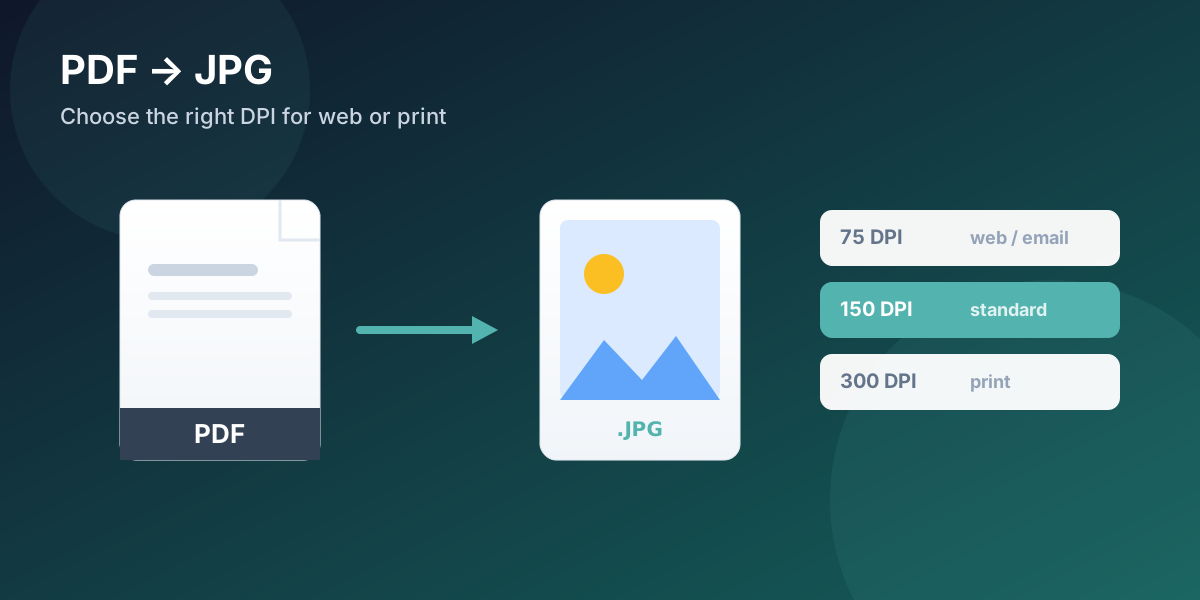
For converting a PDF to JPG, 150 DPI is the safe default for everyday use. Drop to 72-96 DPI for web or email where a small file matters, and go to 300 DPI when the image will be printed at full size. The key thing most people miss: DPI controls how big the image prints and how large the file becomes — it does not, on its own, make an image look sharper on a screen. There, the pixel count is what matters.
Key Takeaways
DPI sets the print size and file size of your image; it does not add detail to a screen view by itself.
Use 72-96 DPI for web and email, 150 DPI as an everyday default, 300 DPI for full-size printing, and 600 DPI only for archival or fine line art.
Raising DPI multiplies the pixel dimensions, so a small PDF exported at 300 DPI can balloon into a huge file.
If your converted image looks blurry, the fix is almost always a higher DPI before converting — not editing the JPG afterward.
PDFengine lets you pick the DPI (75, 150, 220, 300 or 600), the colour mode, and JPG quality before you convert.
What does DPI actually mean — and why does it confuse everyone?
DPI stands for "dots per inch," and the confusion is almost universal because the term gets used for two different things. The US National Archives draws the line cleanly: DPI describes "how many dots of ink can be displayed or printed within one inch," while PPI ("pixels per inch") describes "the pixel array of a digital file" (National Archives).
In plain terms: a digital image is a grid of pixels. DPI is the instruction for how tightly those pixels get packed when the image is printed. On a screen, the DPI number is essentially metadata — what you actually see is governed by the pixel dimensions and the size of your display. That single distinction explains most of the frustration people run into when exporting images from a PDF.
Citation capsule: DPI (dots per inch) controls the physical print size and file size of a raster image, not its on-screen sharpness. A 1200-pixel-wide image looks identical on a monitor whether it is tagged 72 DPI or 300 DPI; the DPI value only changes how large it prints. On-screen detail is determined by pixel count, not the DPI label.
What DPI should you use? A quick guide
Match the DPI to where the image will end up. These are the same presets PDFengine offers in its PDF to JPG tool, so you can pick one directly:
DPI | Best for | Trade-off |
72-96 | Web pages, email, on-screen sharing | Small, fast files; not enough to print well |
150 | Everyday default, documents, previews | Good balance of quality and size |
220 | Decent home or office printing | Larger file, sharper on paper |
300 | Full-size, high-quality printing | The print standard; bigger files |
600 | Archival masters, fine line art | Very large files; rarely needed for photos |
Why is 300 the magic number for print? The National Archives notes that 300 DPI "became a commonly adopted digitization specification because it equated to the human eye's ability to perceive detail in an 8x10-inch print held at arm's length" (National Archives). Above that, you mostly add file size, not visible quality, unless you are zooming in or printing very large.
Why does my PDF turn into a huge (or tiny) image when I convert it?
Because raising the DPI multiplies the pixel dimensions. On the Adobe forum, one user converted a 300 × 250 pixel PDF and was surprised to get a 1250 × 1042 pixel JPG — the file had been exported at 300 DPI instead of 72, which multiplied every dimension by about 4.17 (Adobe Community). The image was not "wrong"; it was simply rendered at print density when only screen density was needed.
This is the most common DPI mistake. If the image is only going on a website or into an email, a high DPI just produces a needlessly large file. If it is going to print, a low DPI produces something that looks fine on screen and disappointing on paper. Pick the DPI for the destination, not the highest number available.
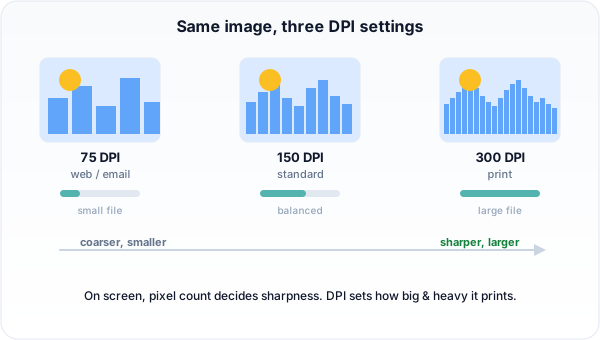 Higher DPI means more pixels, a sharper print, and a bigger file. Match it to where the image will be used.
Why is my converted image blurry?
A blurry export almost always comes from too low a DPI for the job, or from enlarging a low-resolution source. The dependable fix is to convert at a higher DPI from the start. Many simple online converters give you no DPI control at all, so when the result looks soft there is nothing you can adjust — you are stuck with whatever density the tool chose. Choosing the DPI yourself is what prevents the problem.
How to convert a PDF to JPG at the right DPI
The reliable method takes three steps and keeps you in control of the output.
Step 1: Upload your PDF
Open the PDF to JPG tool and drop in your file. It runs in the browser, so there is nothing to install, and files are deleted automatically after conversion.
Step 2: Choose your DPI, colour mode and quality
Pick a DPI preset (75 for web, 150 for everyday, 300 for print), choose colour, grayscale or black & white, and set the JPG quality. Setting these before converting is the difference between a one-shot good result and re-exporting three times.
Step 3: Convert and download
Convert and download your image. Each PDF page becomes its own JPG, so a multi-page PDF gives you one image per page in the order you expect.
PDFengine vs Adobe Acrobat for PDF to JPG
Acrobat exports images too, but it is a paid desktop application and its export resolution lives in a settings dialog that trips people up (the forum threads above are full of Acrobat users fighting the DPI box).
Factor | Adobe Acrobat | PDFengine |
Pricing | Subscription-based (pricing) | Free tier to try; online tool |
Install | Desktop app | Runs in the browser |
DPI control | Yes, in export settings | Yes — clear presets (75-600) |
Colour / grayscale / B&W | Yes | Yes, as a colour-mode choice |
Best for | Heavy daily PDF editing | A quick, controlled PDF to JPG |
Frequently asked questions
Does a higher DPI mean better quality on screen?
No. On a screen, what you see depends on the pixel dimensions and your display, not the DPI tag. A 1200-pixel image looks the same at 72 or 300 DPI on a monitor — the DPI only changes how large it prints. Higher DPI helps when you print, not when you view.
What DPI is best for printing a PDF page?
300 DPI is the standard for full-size, high-quality printing. 220 DPI is fine for everyday home or office prints, and 600 DPI is reserved for archival masters or fine line art where you need every detail.
Why is my exported JPG so large?
Because it was exported at a high DPI. Raising DPI multiplies the pixel count, so the file grows quickly. If the image is only for screen or email, drop to 72-96 DPI and the file shrinks dramatically.
Can I convert a PDF to JPG in grayscale or black and white?
Yes. PDFengine has a colour-mode option, so you can output full colour, grayscale, or true black & white instead of converting and then editing the image afterward.
Need a JPG at exactly the right resolution? Convert your PDF to JPG and pick the DPI yourself.
Written by Daan van Tongeren, founder of PDFengine.
Related Articles
How to deliver a newspaper ad PDF: the 240% ink limit, ISOnewspaper26v4 and GWG2015 explained
Your newspaper wants GWG2015, ISOnewspaper26v4 and max 240% ink. Here is what that means, why a prof...
Can ChatGPT, Claude or Gemini Convert Email to PDF? What AI Can (and Can't) Do
No AI assistant can natively convert .eml or .msg to PDF. But Claude + MCP bridges the gap — here's...